Welcome to Helcim.
Thank you for choosing Helcim as your payment partner! We’re so excited to help you get started accepting payments with your new device.
What are you setting up today?
Thank you for choosing Helcim as your payment partner! We’re so excited to help you get started accepting payments with your new device.
What are you setting up today?

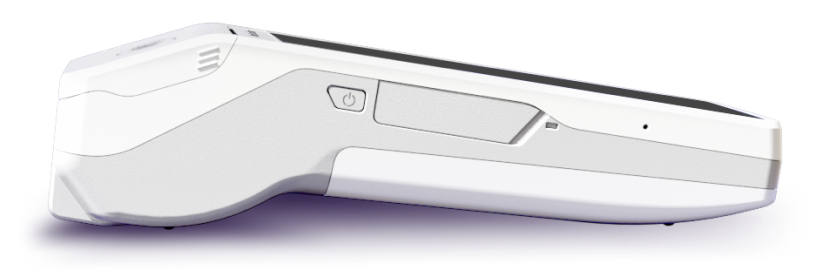
Ensure your device has power and turn it on by pressing the button on the left side of the device.
Connect to your preferred Wi-Fi network. If this is your first time logging in, complete the setup wizard to configure your device. Once completed, your device will reboot and automatically update to the latest version of the Helcim app.
Log in to your Helcim account and process your first payment!To learn how to take your first payment without transaction fees, click here.


Watch this walkthrough to get started with your new Helcim Smart Terminal.
Step 1: Install the SIM Card
Power off the terminal, remove the back cover and battery, insert the Helcim SIM into Slot 1, reassemble, and power on. Need help? Watch the SIM installation video.
Step 2: Activate the Data Plan
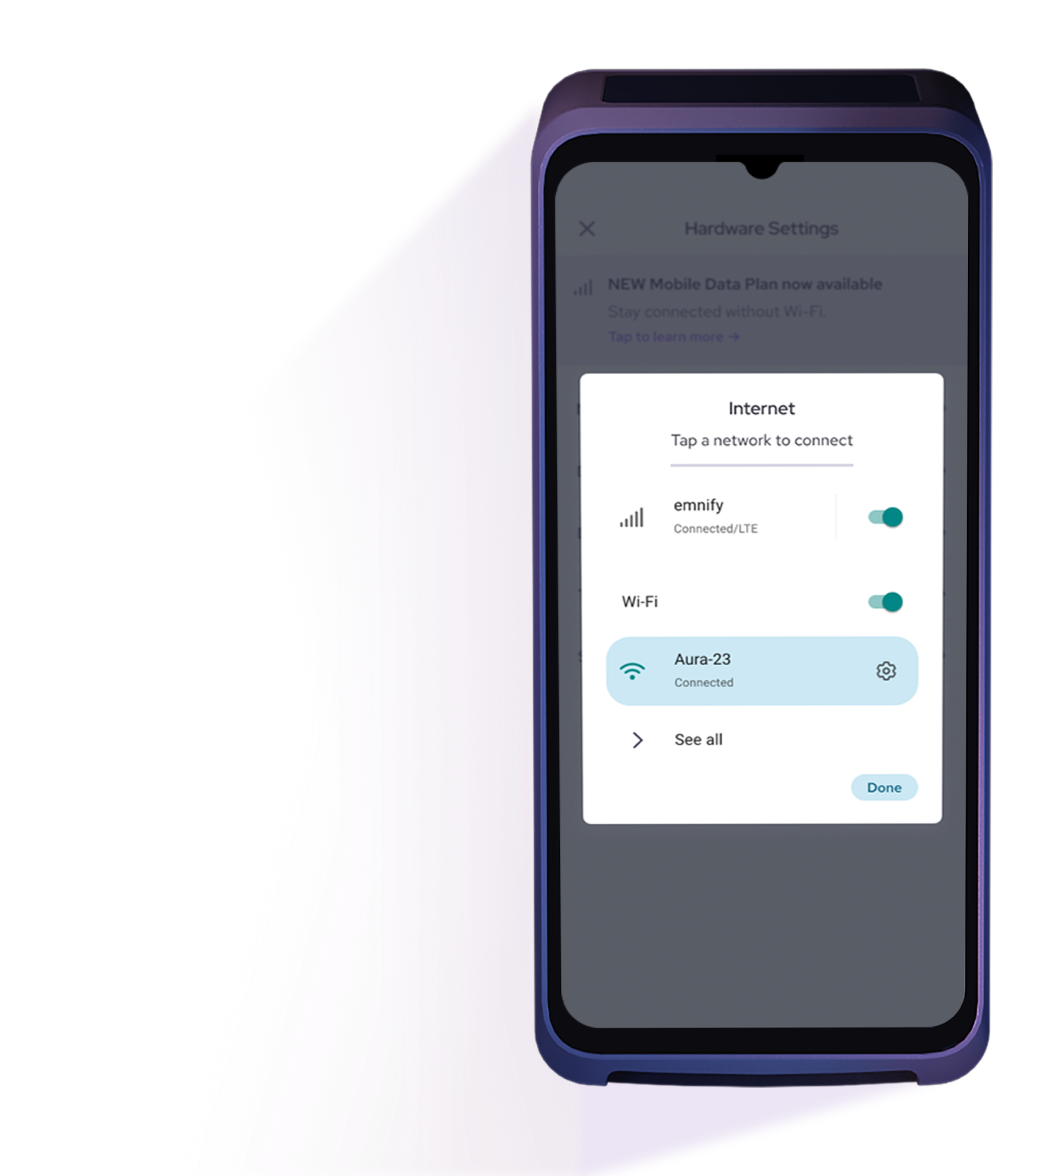
On your device, go to More > Settings > Hardware Settings > Network and turn Mobile data plan ON. Follow the prompts to activate.
Step 3: Enable Mobile Data
Restart the terminal, then return to Settings > Hardware Settings > Network > Internet connectivity and toggle Mobile data ON. You should see the 4G/LTE icon once connected.
Download the Helcim Point of Sale app from the links below.

Open your app, and click the connectivity icon and choose the hardware type you’d like to pair. If it’s your first login, just follow the on-screen setup prompts.
Once connected, you’re ready to take your first payment. To help you test things out, your first $5 transaction is on us. Welcome to Helcim!

Whether it's for your equipment or for your Helcim account, you can quickly talk to a real person who actually cares about you and your business. our amazing Support Team will help you get it running.
For more tutorials and user guides, visit our Helcim Learning Center.
Speak to a real person who can answer your payment questions.
Call us, book a demo, or fill out the form to learn:

