
-
Content
Last Updated on September 19, 2025 by Robert Luong
If you’re setting up your business to accept debit and credit card payments, you’ve probably come across terms like POS purchases, POS systems, POS software, and hardware options such as card readers and payment terminals. It can feel like a lot of jargon, but at the core it all comes down to one simple idea: how your customers pay you.
This article will break down exactly what a POS purchase is, how it works, and the tools you’ll need to accept payments both in person and online.
What is a POS purchase?
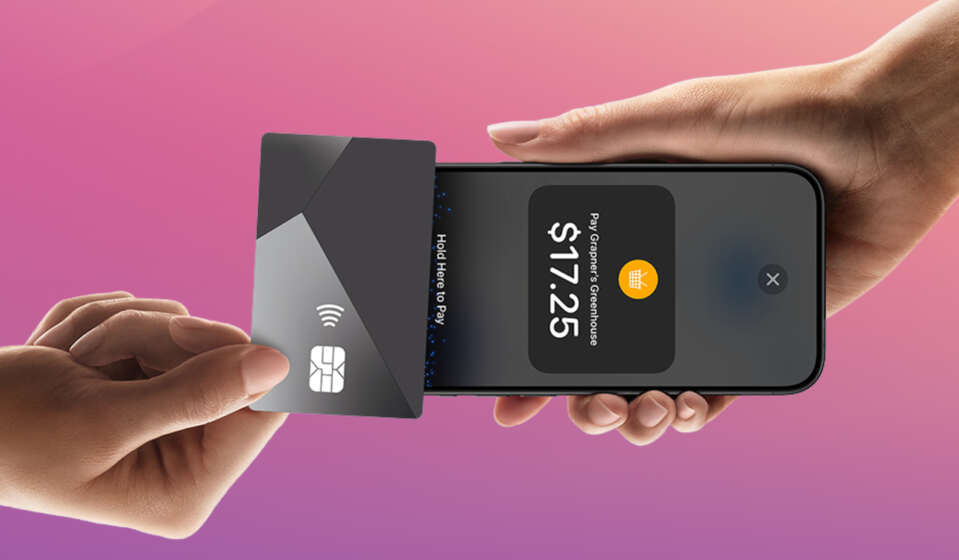
A POS purchase simply means your customers make the purchase through a POS system. POS stands for “point of sale,” which is just the place where the sale happens.
Pretty straightforward, right? Most people think of a POS purchase as an in-person transaction. That could be at your store’s register, a restaurant counter, a food truck, or even on-site at a job where the customer pays you directly.
But POS purchases aren’t limited to physical transactions. With modern technology, the line is blurred. For example:
- When customers pay at your website’s checkout, that’s through a payment gateway.
- When they call you to pay over the phone, you use a virtual terminal.
- When you send an invoice after the job and get paid later.
- Or when you set up retainers, subscriptions, or recurring payment plans using billing software.
All of these are considered POS purchases too. Remember, POS just means the place where the sale happens, and today that can be online or in person.
What equipment do you need to accept in-person POS purchases?
In-person POS purchase is the classic setup. Customers walk into your store, pick what they want, and pay at the counter. Here are some common types of equipment that help you accept in-person POS purchases:
| POS option | How it works | Best for |
|---|---|---|
| Fixed POS register | Countertop setup with hardware like barcode scanner, tablet, receipt printer, and card reader. | Retail stores, cafes, or restaurants with a set checkout counter. |
| Credit card readers | Small devices that connect to a register, phone, or tablet to accept payments on the go. | Mobile businesses like food trucks, contractors, or service professionals. |
| Payment terminals | Standalone touchscreen devices that process sales and payments without extra hardware. | Businesses that want an all-in-one device. |
| Cash registers | Basic drawers for handling cash payments. | Cash-only businesses, though many customers now prefer cards or contactless. |
| Tap to Pay (iPhone/Android) | Use a phone with a POS app to accept contactless payments without extra equipment. | Small or mobile businesses that want the simplest, low-cost setup. |
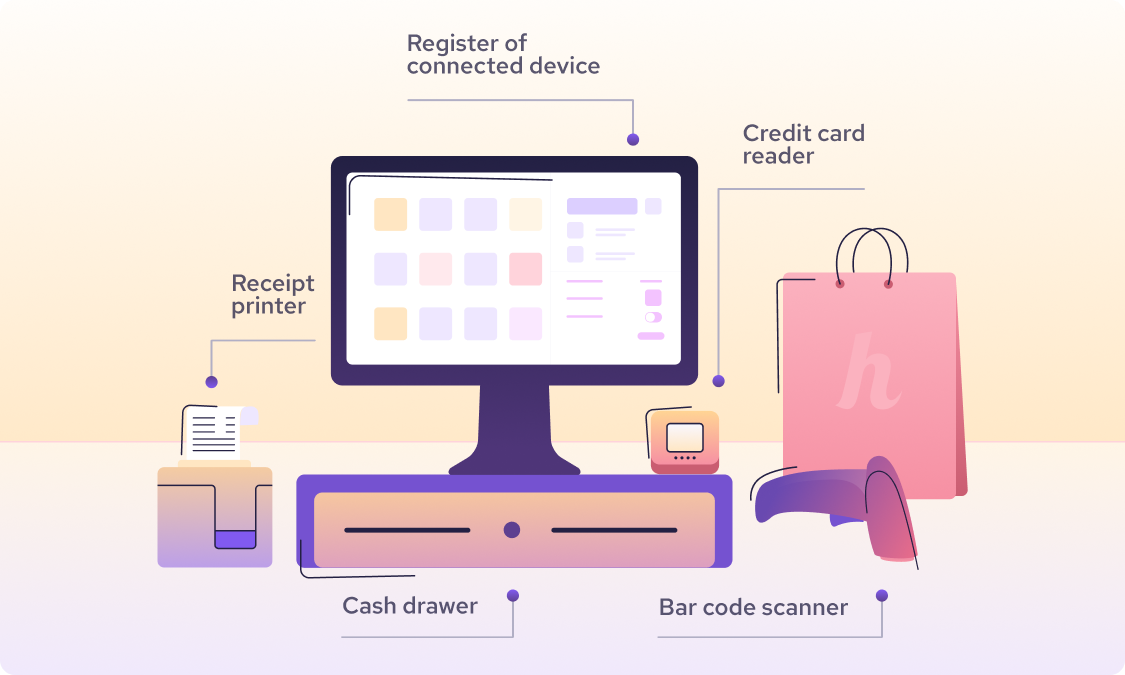
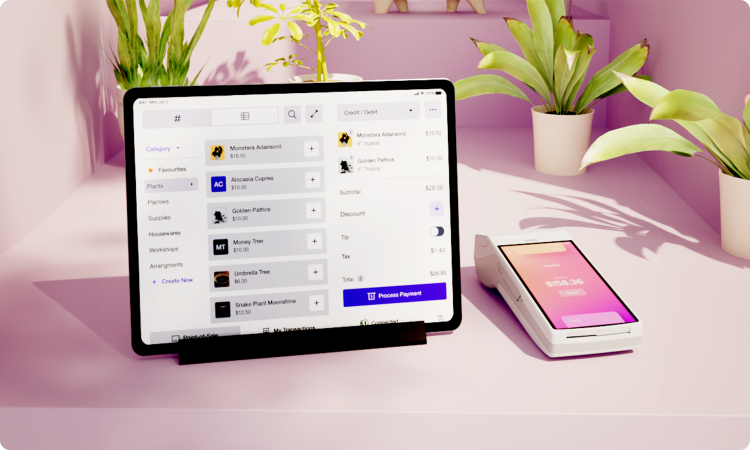
1. Fixed POS register
This traditional setup stays at the checkout counter. It usually comes with other hardware like a barcode scanner, tablet, receipt printer, and payment terminal. This fixed POS set up can be cloud-based or server-based (explore the difference between cloud POS and traditional POS).
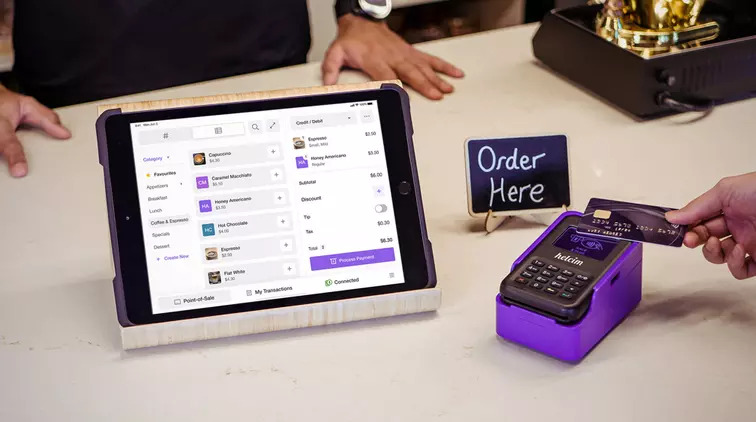
For example, a coffee shop might have a POS register on the counter with a credit card reader. The barista enters the sale and hands the payment terminal to the customer, who then verifies the amount, adds a tip, and inserts or taps their card. A receipt might print automatically from the nearby printer. Discover the best POS system for small businesses here.
2. Payment terminals
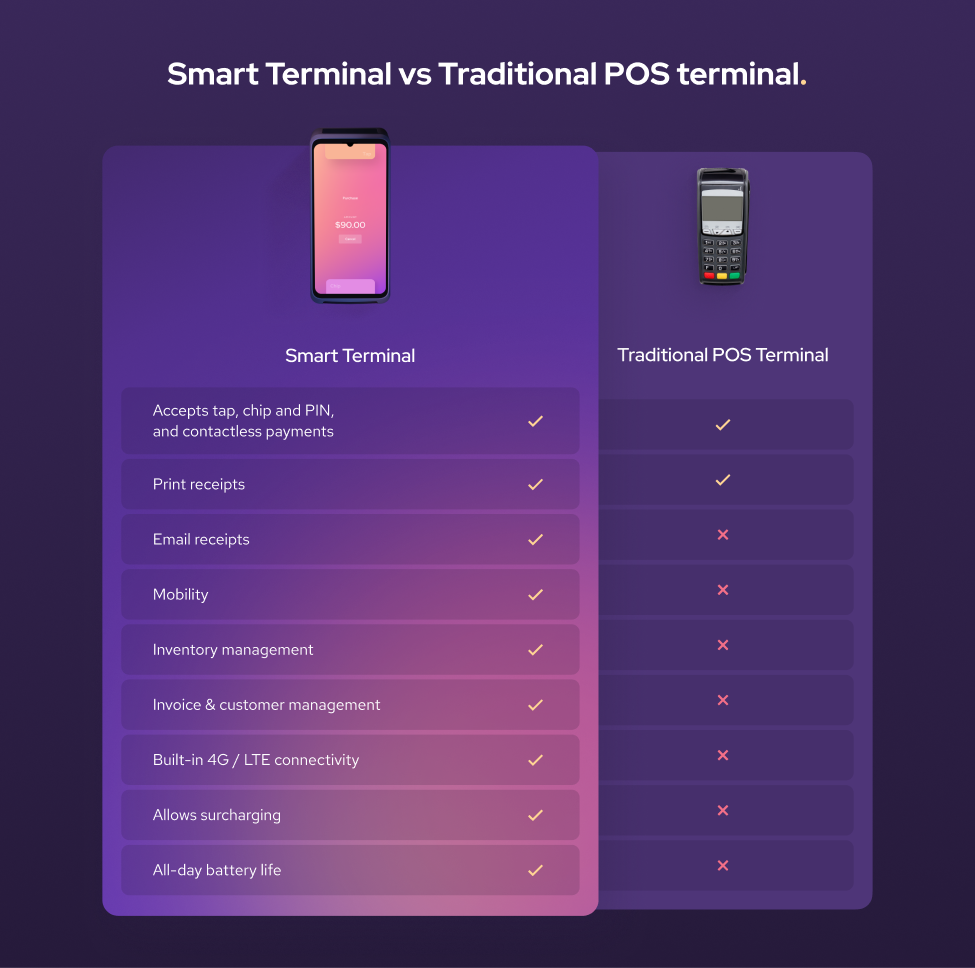
This device is sometimes called credit card terminals, POS terminals, portable POS systems, or portable terminals, these are standalone devices with a touchscreen. They let you enter sales, manage business functions, and accept payments without connecting to any external device. Some, like the Helcim Smart Terminal, even include a built-in receipt printer, so you don’t need to buy one separately.
Many providers sell hardware bundles, while others sell equipment separately or only offer leasing. We recommend buying your payment hardware outright instead of leasing. Leasing usually ties you to a 3–5 year contract and may include expensive cancellation fees if you want to switch processors.
Also, keep in mind that hardware purchased from one merchant service provider usually won’t work if you move to a new provider. Choose carefully before committing. Explore the cheapest credit card machine for small/medium businesses here.

3. Credit card readers
These devices can connect to your fixed POS register, or you can plug them into a phone or tablet to create the mobile POS system and take payments on the go. For example, a food truck might run a POS app on a phone and connect it to a card reader. Service professionals like plumbers or home repair contractors often carry a card reader so they can get paid right after finishing a job at a client’s home.
4. Cash purchases with basic registers
If your business is cash-only, a basic cash register still works. You enter the amount (or scan a product), the drawer pops open, you take the cash, and hand back change. It’s still a POS purchase, but you’ll likely miss out on sales since more customers are choosing credit cards and contactless payments today. Explore if cash-only businesses should accept credit cards.
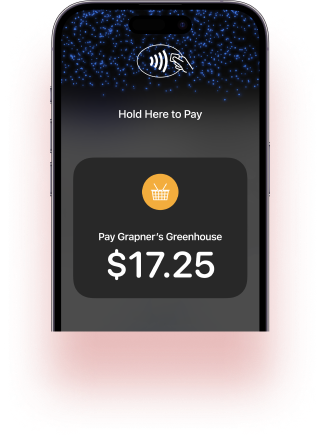
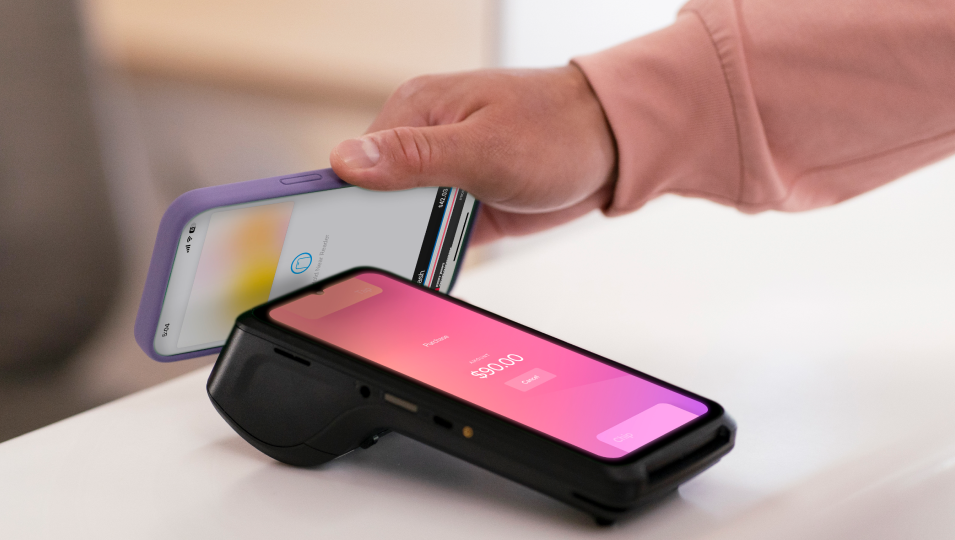
5. Tap to Pay on iPhone or Android
Don’t want to buy extra hardware? Your phone can act as a POS too. For example, with the Helcim POS app and Tap to Pay on iPhone enabled, you can accept contactless payments directly with just your phone.
What payment tools do you need to accept online POS purchases?
The customers can absolutely make POS purchases online. Most modern POS systems are omnichannel: they let you take orders and payments both in-store and online.
Online POS purchases can happen when your customers pay on your website, via your invoices, or automatically via the subscription plan. Below are some tools that you need to accept accept online POS purchases:
| Online POS option | How it works | Best for |
|---|---|---|
| E-commerce checkout | Customers add items to a cart, enter payment info, and pay through a hosted or integrated checkout page. | Online stores selling products or services directly on their website. |
| Virtual terminal | The merchant manually enters card details provided by customers over the phone or by mail. | Businesses handling phone or mail orders. |
| Invoice software | Sends invoices via email or SMS with a secure payment link. | Service-based businesses like contractors, consultants, or freelancers. |
| Recurring payments | Automatically charges customers at set billing cycles (weekly, monthly, yearly) via cards, ACH, or EFT. | Gyms, SaaS companies, or any subscription/retainer-based business. |
1. E-commerce checkout
When a customer buys something on your website, the checkout page acts as the point of sale. They add items to their cart, enter payment information, and complete the purchase. The checkout page submits the payment details to your payment processor so the transaction can be approved and completed.
Many POS providers offer hosted payment pages where you can create your external checkout page and direct them there for checkout. Providers like Helcim also offer integrations, such as HelcimPay.JS or an Payment API, that let you build and host the checkout page yourself.
2. Virtual terminal
If you often take payments by mail or over the phone (MOTO transactions), a virtual terminal is what you’ll use to process them. An over-the-phone POS purchase happens when a customer gives their credit card information to you, and you manually enter it into the system to complete the payment.
You can also use a virtual terminal to make repeat transactions faster. For example, after a customer makes their first POS purchase, their payment details are encrypted and stored securely in the system. You can then retrieve that information to process the next payment with just a few clicks.
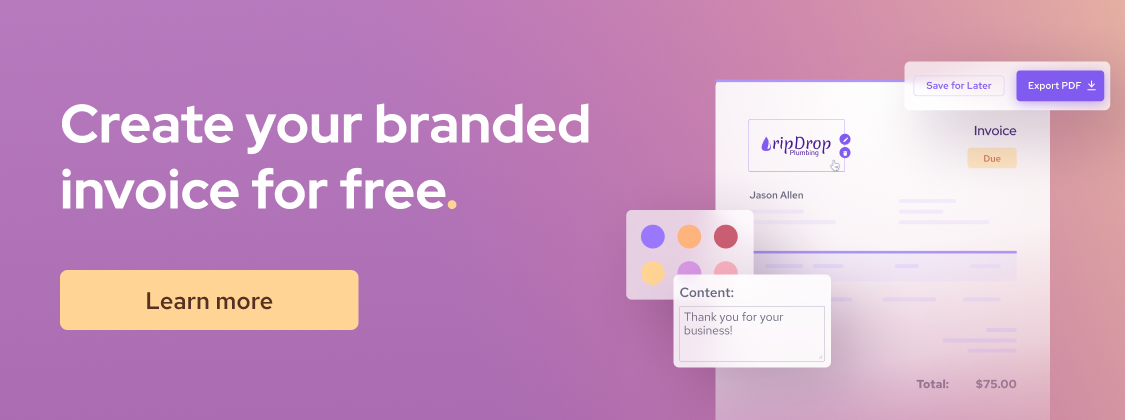
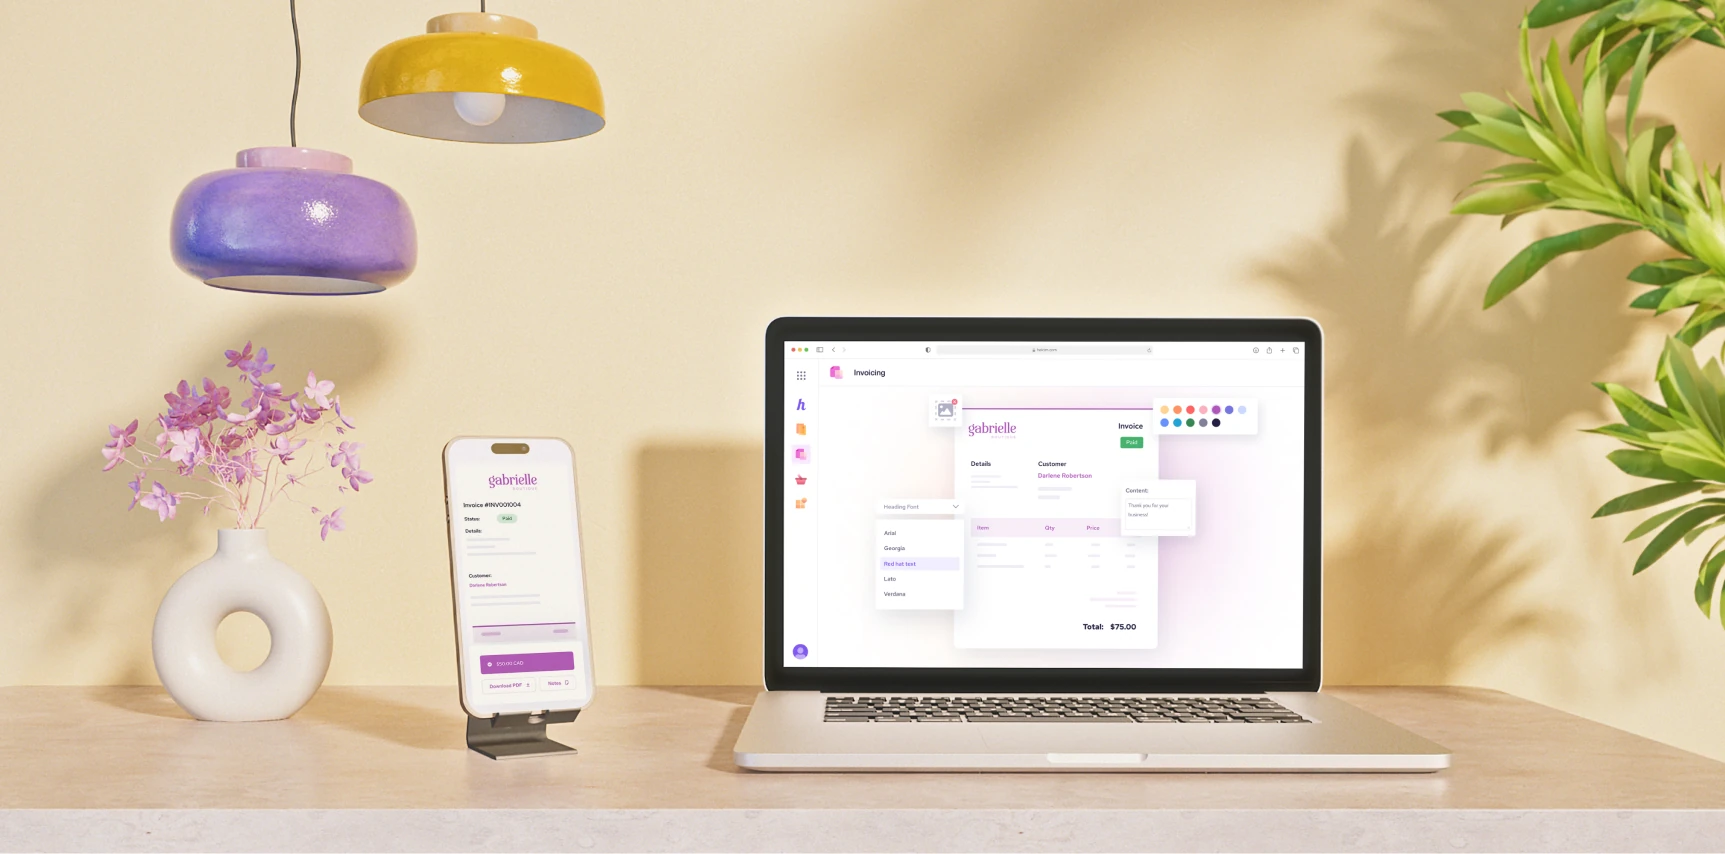
3. Invoice software
If your business is service-based, invoices are common, and they count as POS purchases too. Businesses can send invoices online via email or SMS (text payments) so clients can pay after the job is done, or even upfront as a deposit, down payments or advance payment.
After receiving the invoice, clients click on a link that takes them to a secure web page where they can view the invoice details and pay directly. The backend payment process works the same as an in-person POS purchase: the client enters their payment info, and the processor handles the transaction. For recurring services, businesses can also send recurring invoices to automate payment requests.
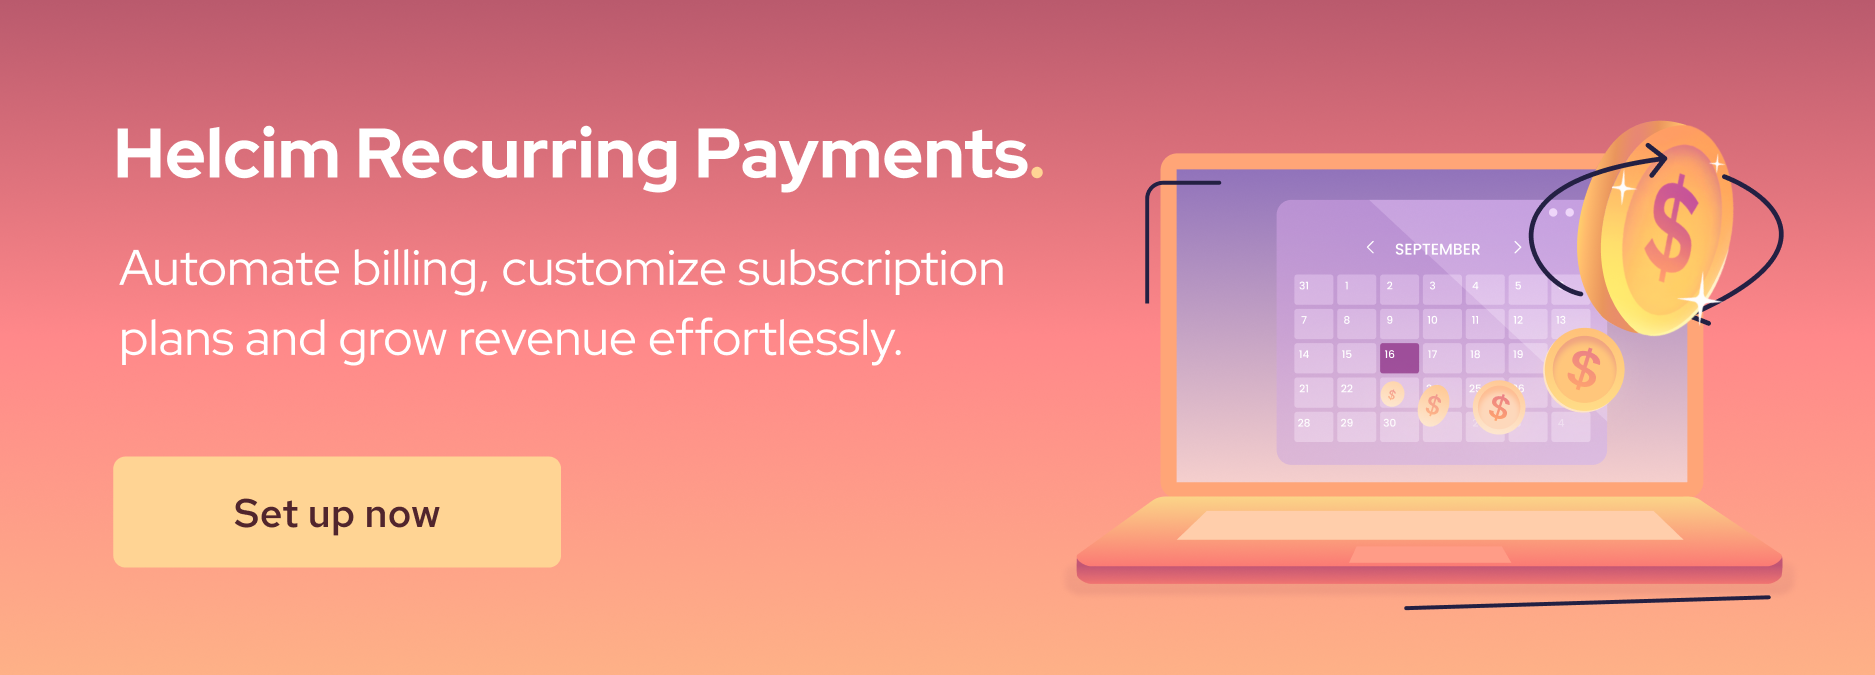
4. Recurring payment
For businesses that rely on subscriptions, payment plans, or automatic billing, like gyms or SaaS companies, recurring payment software makes it easy to collect ongoing POS purchases.
This tool lets you set up a recurring plan that your clients can subscribe to. At every billing cycle, the software automatically collects the payment for you. Customers can subscribe using credit cards, debit cards, ACH payments, or EFT payments.
How to set up your business to take POS purchases
You understand what tool you need to make a POS purchase. Now we will go through how to actually get these tools and set them up so that you can start processing POS purchases. Below is a checklist of the steps you need to go through, we will discuss each step shortly right below this checklist:
- Choose your POS system: Pick software and hardware that fit your business needs, support integrations, and offer fair pricing without long-term contracts.
- Sign up for a merchant account: Modern providers like Helcim make this quick with simple online registration—no piles of paperwork required.
- Get the right hardware: Order compatible equipment from your POS provider, set up your station, and test everything before launch.
- Set up your business in the POS system: Add your bank account, products, taxes, staff accounts, and integrations—and enable two-factor authentication for security.
1. Choose your POS system
You can’t process POS purchases without dedicated POS software and hardware. The software helps you manage your business and accept payments online. The hardware helps you process in-person POS purchases. When choosing, consider more than just price, think about compatibility, scalability, and features:
Business needs: List what you need the POS to do. Do you need it to manage inventory? Do you need online integration? Do you have multiple locations or just one? Depending on your business, you may need a more complex system or a simple one that just handles payments.
Compatibility and integration: If you already use an ordering system, CRM, accounting software, or inventory management tool, make sure your POS system works with them. Most POS systems integrate with popular accounting software like QuickBooks or Xero. But not all systems connect with ordering, menu, or kitchen management tools. So, many POS systems such as Lightspeed or Toast come with their own built-in features for those tasks.
Cloud vs. traditional: Decide whether you want a cloud-based POS or a server-based POS system. Cloud systems are generally easier for small businesses because the provider hosts the server, so you don’t need to spend on IT overhead. But cloud-based POS systems require a stable internet connection. If your store’s Wi-Fi is unreliable, consider a backup data plan for your POS terminal such as Helcim mobile data plan for payment terminal.

Customizations: Popular POS providers like Helcim, Square, or Stripe offer payment APIs or pre-built code snippets (such as HelcimPay.JS) that let merchants with IT resources create a customized, branded payment experience. HelcimPay.JS is especially useful for businesses with limited IT infrastructure because it’s pre-built. So, you can simply copy, paste, and tweak it to match your brand.
Costs: Different POS providers use different pricing models. The two main costs are: a monthly subscription for merchant services and the payment processing fees for every POS purchase. Advanced features are often locked behind higher subscription tiers. With Helcim, however, you get access to all payment tools and features without monthly fees. On top of that, Helcim uses interchange-plus pricing, which typically offers the lowest credit card processing fees for every POS purchase.

Contract: Some payment processors require you to sign a 3–5 year contract. Always read the contract carefully because cancellation fees can run into the hundreds of dollars. Long-term contracts also make it harder to switch providers if you’re unhappy with the service. Learn how to leave U.S. merchant account contracts and Canada merchant account contracts here.
2. Sign up for a merchant account
After you choose a POS provider, the next step is to sign up for a merchant account. Unlike a traditional bank, where you have to deal with piles of contracts and paperwork before you can process POS purchases. Modern payment providers like Helcim make it simple. You can create a merchant account through a straightforward online registration page. Learn how to sign up and qualify for a merchant account here.

3. Get the right hardware
After getting your merchant account, you’ll need the right hardware to process in-person POS purchases. If you’re an online business with no physical store, you can skip this step. You can refer to the section “What equipment do you need to accept in-person POS purchases” above for details on what hardware might be required. Here, we’ll cover a few key things to keep in mind before ordering:
Purchase payment terminals from your POS provider: Instead of buying a non-branded terminal from Amazon, get hardware directly from your POS provider. This ensures it’s compatible with their software.
Check the compatibility list: Every POS provider has a list of external hardware they don’t sell, such as barcode scanners, cash drawers, or receipt printers, that are compatible with their terminals, card readers, and kiosks. Before ordering external hardware, check this list carefully so you don’t waste money on equipment that won’t work.
Don’t wait for hardware to arrive: POS hardware can take up to two weeks to be delivered depending on your location. But don’t wait to set up your business until the equipment arrives. In your POS system settings, start configuring your bank account, tax, inventory, and integrations. That way, when your hardware shows up, you’re ready to process payments right away. Sometimes setup issues take time to resolve, so starting early helps minimize launch delays.
Be careful when leasing POS hardware: Leasing may seem cost-effective at first, but most leases come with 3–5 year contracts and cancellation fees. Those fees can end up equaling the full hardware cost.
Set up the station: Once the payment hardware arrives, assemble it into your POS station. A typical setup includes a tablet or computer with POS software installed, a receipt printer, a cash drawer, and a payment terminal connected via Bluetooth or cable. Don’t forget to connect your POS device to the internet (Wi-Fi or Ethernet). If you’re using network printers or multiple devices, make sure they’re all on the same network.
Hardware testing: Before going live, test your POS setup. Run a test POS purchase with your payment terminal to make sure all tax settings and product imports are correct. Scan a sample barcode (if you have a scanner) to confirm it identifies your product properly. Then, check your inventory section to ensure stock levels are deducted correctly. Finally, print a sample receipt to verify that the printer is working and the receipt prints as expected.
Check and fix if something looks off: If something is off, fix it now. It’s much easier to troubleshoot before you have real customers. For example, if you notice the tax wasn’t applied to a test item that should have tax, you can correct the tax setting for that item before a real sale slips through tax-free.
4. Set up your business in the POS system
You can’t process a POS purchase without setting up your business, tax, inventory, and other essentials in the system. Most POS providers offer an interactive guide that walks you through the setup step by step the first time you log in to the dashboard. Don’t skip this! Follow the guide carefully to make sure you don’t miss any important settings.
Every provider has slightly different steps, but here are some key ones to keep in mind:
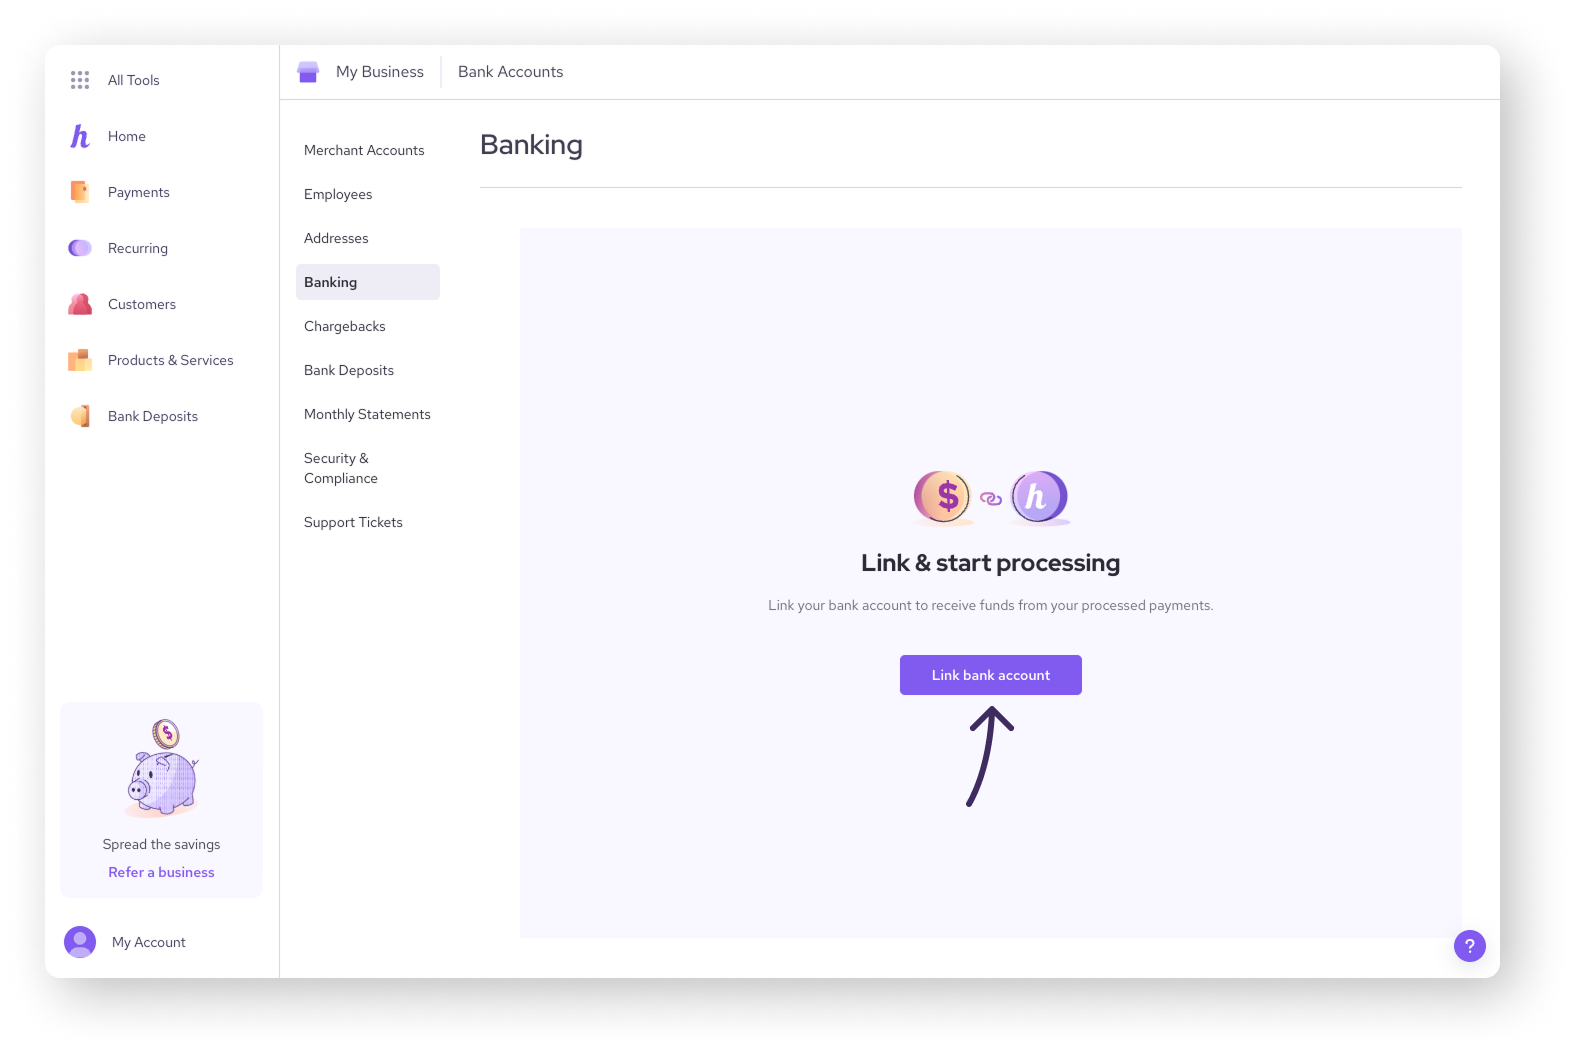
Bank account deposit setup: You won’t receive your sales without linking your bank account to the system. Provide the correct business bank information so your processor knows where to deposit your funds.
Add your products: Enter all the products you plan to sell with names, prices, categories, and SKUs or barcodes (if you use them). Most POS providers let you import products in bulk via CSV file. Be sure to download and use the provider’s template so the system recognizes your product information and organizes it into the right categories.
Set tax rules: Configure your sales tax according to local laws. You may have a federal tax rate plus separate rates for each province or region. Input these percentages in your POS settings. Getting this right is critical for compliance, so double-check with your accountant if you’re unsure what should be charged.
User accounts and permissions: Add your staff users to your POS and set their permission levels. For example, you might give managers access to most features needed to run the business but restrict their ability to modify bank details or sensitive business information.
Integrations: Connect your POS with other software you use. This could be your e-commerce site (like Shopify or WooCommerce) or accounting tools (like QuickBooks or Xero). If your POS provider doesn’t offer direct integrations, you may need to use an API to connect your systems. Learn what third-party integrations that Helcim offers here.
Set up 2 factor authentication: Adding 2 factor authentication (2FA) gives your account an extra layer of protection. Instead of relying only on a password, the system will ask for a verification code when you log in from a new device or unfamiliar location. By default, the code is usually sent to your email, but for stronger security you can enable SMS codes or use an authentication app like Google Authenticator. This makes it much harder for anyone else to access your account, even if they somehow get your password.
How to pause POS purchases to check for fraud
Not every POS purchase is legitimate, so it’s important to verify transactions before shipping products. Many POS providers like Helcim offer fraud defender tools that help merchants identify suspicious POS purchases.
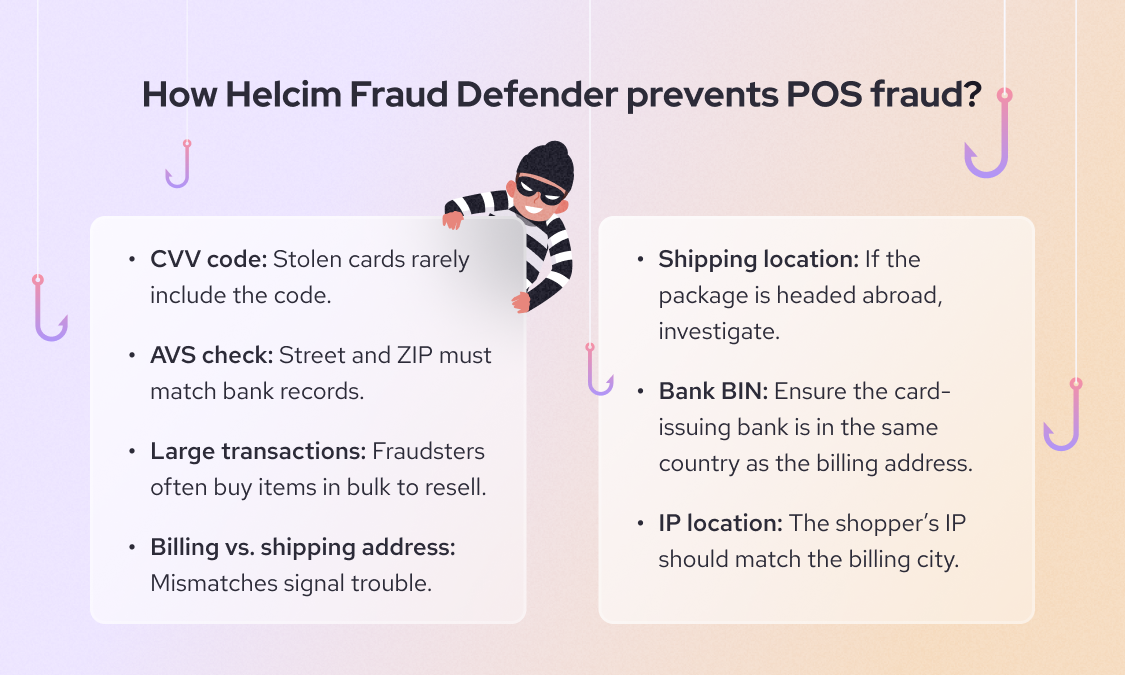
For example, Helcim Fraud Defender analyze the online POS purchase based on seven factors:
- CVV security code: Confirms the card’s 3- or 4-digit security code is entered correctly.
- Address Verification Service (AVS): Matches the numeric parts of the billing address and ZIP/postal code with what the bank has on file.
- Transaction size: Flags purchases that are much larger than your typical transaction amount.
- Billing & shipping match: Compares billing and shipping addresses to spot mismatches that could signal risk.
- Shipping location: Reviews whether the shipping destination is in the same country as the billing address.
- Bank BIN: Uses the first six digits of the card (the Bank Identification Number) to confirm the issuing bank is located in the same country as the billing address.
- IP address location: Looks at the customer’s IP address and checks if it aligns with the billing address region.
Learn more about how to prevent online POS transaction fraud here.
For in-person POS purchases, merchants need to train staff to recognize potential fraud. Red flags include customers rushing the transaction, using multiple cards, struggling with PINs, or insisting on keying in the card instead of entering a PIN. Staff should feel empowered to pause the transaction and politely ask for ID or another form of payment. Learn more about how to prevent in-person POS transaction fraud here.
Can a POS purchase be refunded?
Yes, you can refund POS purchases to your customers. There are two main ways to issue a refund:
Option 1: If the transaction hasn’t settled yet. After the customer makes a payment, the POS system communicates with the processor to authorize it (learn more on how credit card processing works). If the transaction is very recent (usually the same day) and hasn’t been settled, some systems let you void or cancel it before the funds are captured. In this case, the customer is never actually charged.
Option 2: If the sale has already settled. Once the money is officially deducted from the customer’s account or credit line, you’ll need to process a refund as a separate transaction. To do this, locate the original sale in your POS system (by receipt number, date, or card used) and select the refund option. Most POS providers or card networks allow refunds within a 90-day window. If the POS purchase is older than that, you usually can’t issue a refund, so be sure your refund policy mentions these limits.
You can typically choose between a full refund (the entire purchase) or a partial refund (just part of the amount or selected items). Refunds always go back to the original payment method; for example, a Visa card refund returns to that same card.
Refunds usually take a few business days to show up, though some banks may take up to 14 business days to post the credit. Once you issue the refund, provide your customer with a refund receipt either via print or email just as you would for a sale.
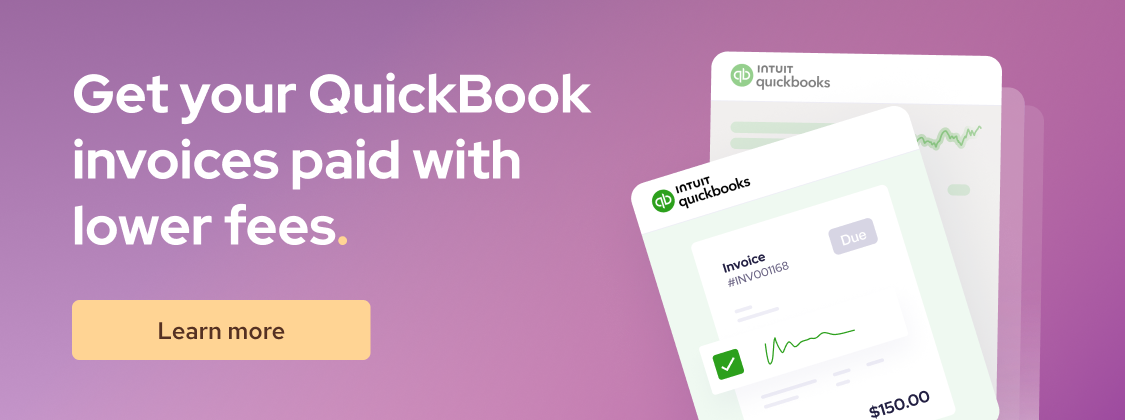
Accept POS purchases at low fees with Helcim
If you’re setting up your first POS system or want to accept POS purchases at low processing fees, Helcim is your best option.
Helcim gives you free POS software with built-in payment tools to accept payments both online and in person. You can get your business up and running with no monthly fees, no setup fees, and no hidden costs.
Book a demo, call us at +1 (877) 643-5246, or sign up today to see how Helcim can help you accept POS purchases at lower transaction fees.

If you’re currently locked into a contract with another provider, the Helcim Merchant Buyout Program will cover up to $500 of your processing fees to help offset cancellation costs.

Break up with bad rates.
Feeling stuck with your provider? We'll waive $500 of your processing fees when you switch to Helcim.
FAQ
What is a POS signature purchase?
A POS signature purchase is a transaction at the point of sale where the customer signs a receipt or the terminal screen to confirm the purchase instead of entering a PIN. For example, when you travel abroad and use your credit card at an international airport, you’re often asked to sign to complete the transaction. The merchant keeps a copy of the signed receipt as proof that the cardholder agreed to the purchase. While this type of transaction is becoming less common, whether it’s used or not often depends on the payment processor the merchant works with.
What is a POS purchase on a bank statement?
A POS purchase on a bank statement means a payment made through a point-of-sale system, usually with a debit or credit card. It indicates the transaction happened at a checkout terminal or online payment gateway. The statement will typically show the merchant name and location, along with the word “POS.” This helps distinguish it from other transactions like ATM withdrawals or bank transfers.
What is a POS domestic purchase?
A POS domestic purchase is a point-of-sale transaction made within your home country. For example, if you live in the U.S. and use your card to buy groceries at a local store, it will show as a POS domestic purchase. This label helps banks and card networks differentiate between local and international transactions. Foreign or international POS purchases may include additional currency conversion fees.
What is the difference between a debit card purchase and a POS purchase?
A debit card purchase refers to using your debit card to pay directly from your bank account. A POS purchase refers to where the payment happens—through a point-of-sale system. In many cases, a debit card purchase at a checkout terminal is both a debit transaction and a POS purchase. The distinction is that “POS purchase” focuses on the method and location of payment, while “debit card purchase” focuses on the card type used.
Can POS purchases be made online?
Yes, POS purchases can be made online. When customers pay through an e-commerce checkout page or a virtual terminal, it’s considered an online POS transaction. The payment process works the same way as an in-person purchase, only the point of sale is virtual. Many modern POS systems support both online and in-person transactions, giving businesses a single system to manage all sales.
Related Articles
-
iPad POS Systems: The Ultimate Guide for Business Owners
Robert Luong | October 31, 2025
-
What is the best portable POS system for small business?
Robert Luong | March 24, 2025
-
Can I use my iPhone as a POS system?
May Montenegro | December 20, 2024
-
What is a credit card machine?
Jared Slemp | July 23, 2024
-

Creating Your Ideal POS Setup
Nic Beique | March 8, 2022
-

Should you use a cloud based pos system?
Ryleigh Stangness | February 28, 2022
-
What is a POS system and how does it work?
Ryleigh Stangness | April 5, 2021
-

The merchant's guide to POS equipment and hardware
Miranda Russell | December 16, 2020
